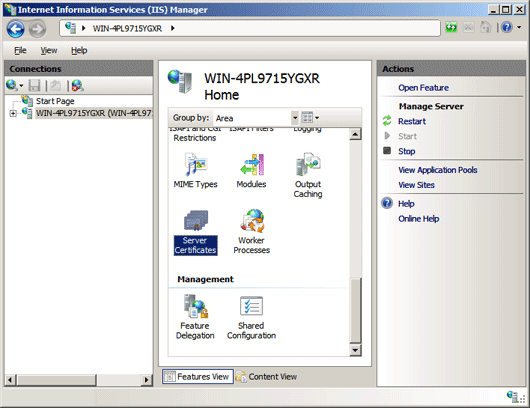
Click Start, then Administrative Tools, then Internet Information Services (IIS) Manager.
Click on the server name.
From the center menu, double-click the "Server Certificates" button in the "Security" section (it is near the bottom of the menu).
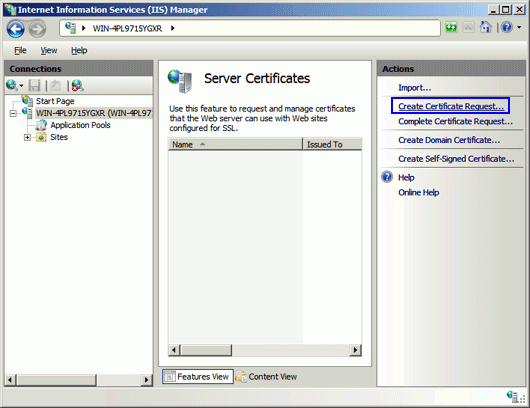
Next, from the "Actions" menu (on the right), click on "Create Certificate Request." This will open the Request Certificate wizard.
In the "Distinguished Name Properties" window, enter the information as follows:
Common Name - The name through which the certificate will be accessed (usually the fully-qualified domain name, e.g., www.domain.com or mail.domain.com).
Organization - The legally registered name of your organization/company.
Organizational unit - The name of your department within the organization (frequently this entry will be listed as "IT," "Web Security," or is simply left blank).
City/locality - The city in which your organization is located.
State/province - The state in which your organization is located.
Country/region - If needed, you can find your two-digit country code in our list.
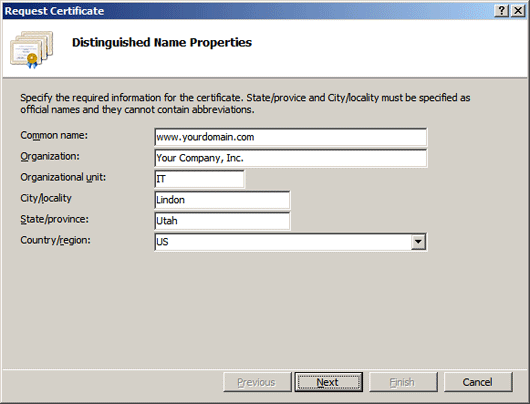
Click Next.
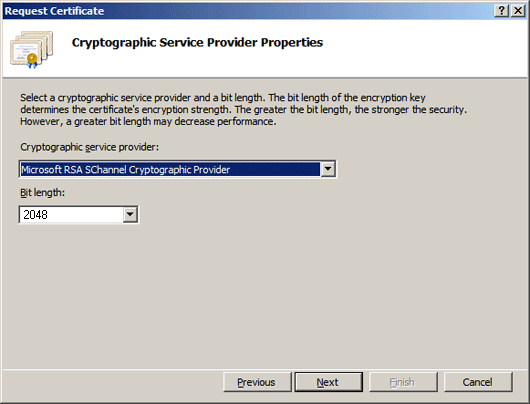
In the "Cryptographic Service Provider Properties" window, leave both settings at their defaults (Microsoft RSA SChannel and 2048) and then click next.
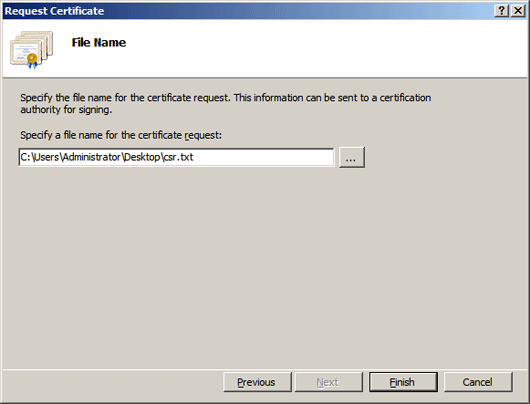
Enter a filename for your CSR file.
Remember the filename that you choose and the location to which you save it. You will need to open this file as a text file and copy the entire body of it (including the Begin and End Certificate Request tags) into the online order process when prompted.
